“Spooky Game Month” is over, with a final tally of 5 games and one lengthy DLC:
- Silent Hill f
- Resident Evil (2014)
- Resident Evil 2 (2019)
- Resident Evil 3 (2020)
- Resident Evil 4 (2023)
- Resident Evil 4 (2023) Separate Ways
And started-but-quickly abandoned:
- Resident Evil: Code Veronica
- Resident Evil 0
First off, while I’m going to start Resident Evil 5 next, and I know it’s generally less-well-received than its immediate predecessor, I have to say that I am going to try to give it some slack because I am not sure how anything follows up RE4. That was a genuine banger of a game, and the Ada DLC just made it better.
Separate Ways also marked an important milestone, in that I have officially graduated from the “Assisted” difficulty level. I played it on NORMAL which for me is practically hardcore.
I’ll be back to easy for RE5, of course. I’m not going to overestimate my skill level.
I’m not sure how the original version of RE4 would hold up. I know it has a slightly more reasonable control scheme than the original trilogy + CV and 0. Put that on my list of “things to consider trying someday”
Some other takeaways from RE4: I now understand why “yellow paint” became something of a meme for a little bit there, because someone was just pouring buckets of it all over the game. Sometimes it was super handy, especially when it came to knowing which of the various very similar-looking crates were just scenery and which could be smashed open for goodies.

…and, other times it was just silly.
Even with playing on assisted mode and even with all of the bright yellow “go here next” indicators, RE4 was still a pretty lengthy game. So maybe it’s a good thing it never really let me get confused about my next destination.
I also finally get the jokes about “Inventory Tetris”, because organizing your suitcase was just super satisfying:
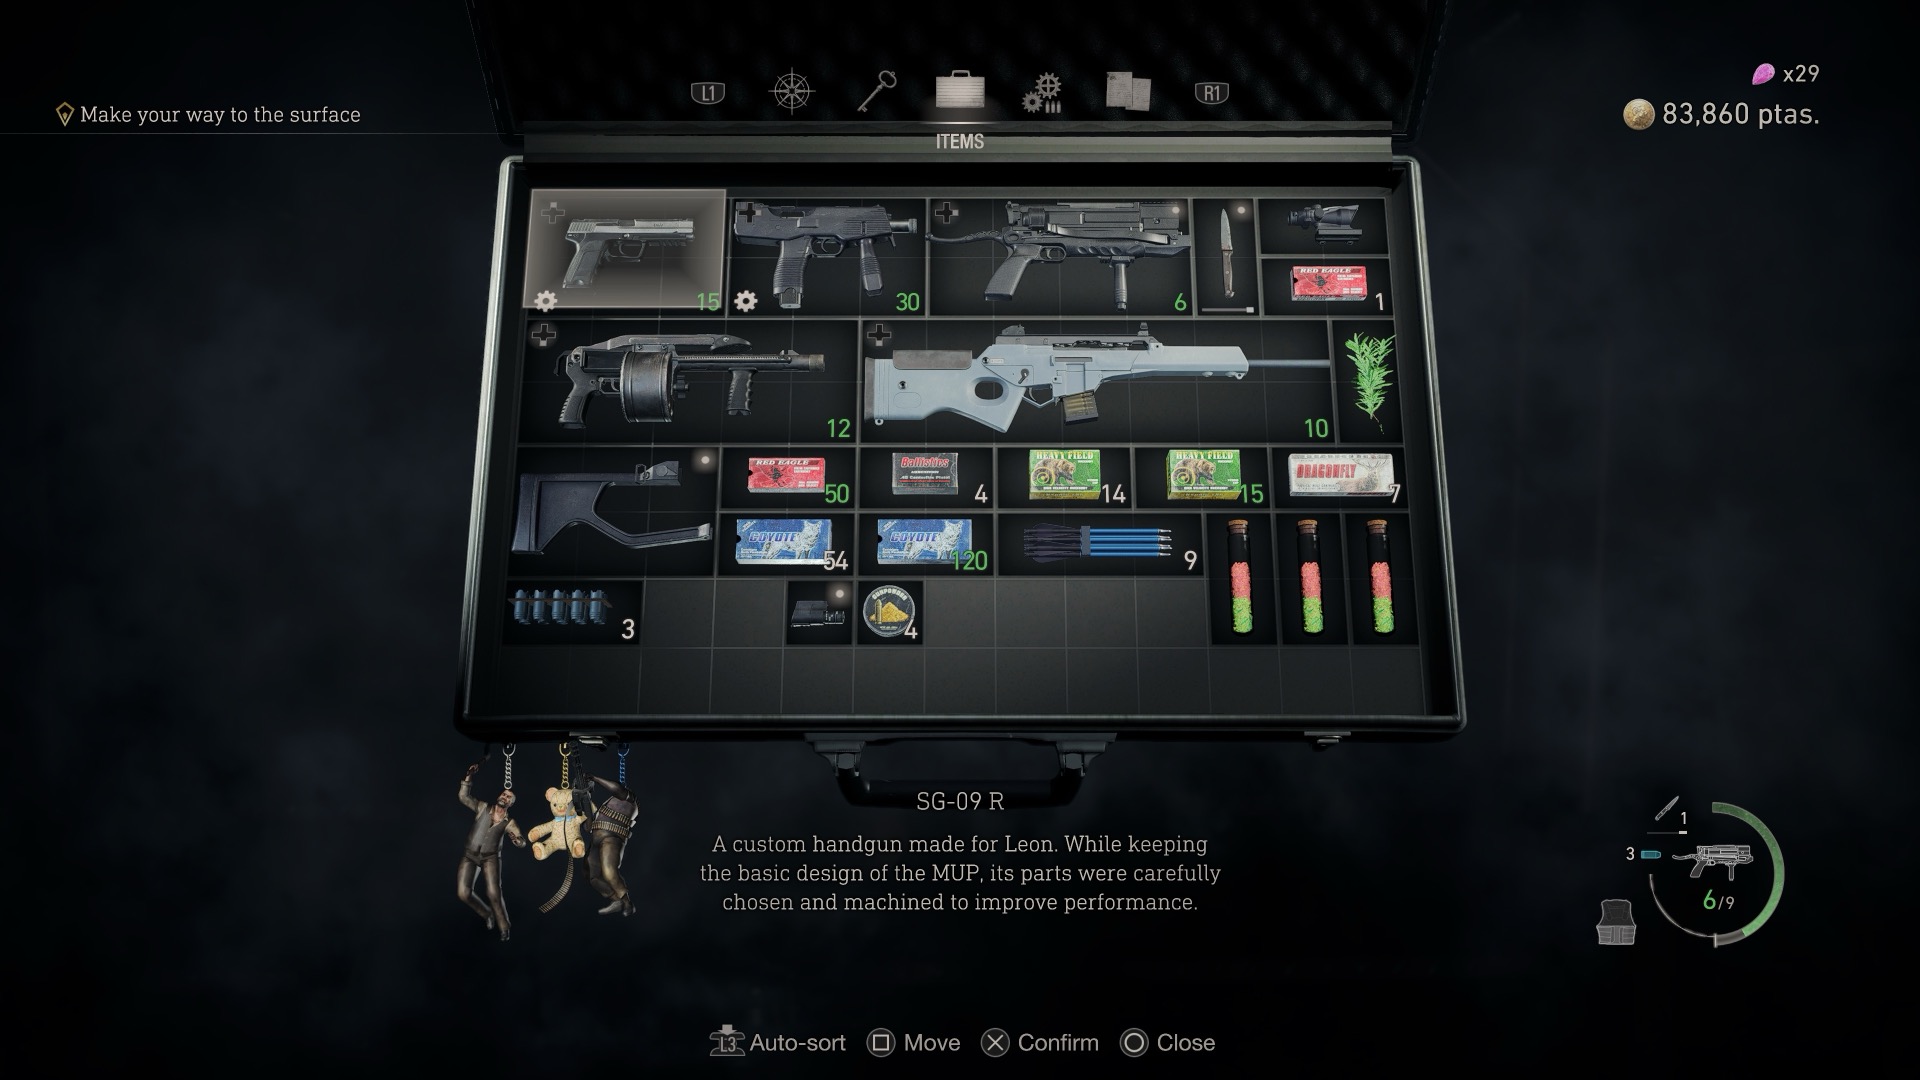
Oh, one more super positive thing about the game: while there is an inventory constraint, it’s never quite as oppressive as earlier games. Big shout out to whoever at Capcom decided that quest items could go into a separate inventory that didn’t affect your ability to carry five guns and all the related ammunition for them.
One LESS positive thing: Early on in the game I noticed that my combat knife was nearly broken and obviously the correct course of action was to sell it before it fully broke so I’d get SOME money back. I did not realize that you were supposed to repair and upgrade the thing over the course of the game, and that having knives in general was really really REALLY important, so I spent like 90% of the game scrounging for kitchen knives and generally in a perpetual state of wondering where my next knife was coming from.
Look, I don’t mind too much that the game let me do something stupid but a little confirmation box would have gone a long way here.
Anyway. All three of the modern games were awesome, would definitely play again.
Now, for the bit where I critique the computers because apparently this is a thing I do.
Before I do, I’d like to apologize for the weirdly overexposed screenshots from RE2 and RE3. Windows does not handle HDR well.
Resident Evil 2 and 3 shared a set of computer models. Not too weird, since they’re set on basically the same night.
In Resident Evil 2 and 3 the police are all using these… I guess they’re kind of all-in-one PCs? I remember these were a THING at the time, basically PC manufacturers trying to cash in on the iMac craze without realizing what made the iMac so popular. I think eMachines was one of the biggest offenders at the time.

You also see them in municipal works, like down here below the police station. This one is particularly weird because it has a different keyboard than you see in other places in the game, and my first reaction was to make fun of it because it wasn’t even plugged in.
And then I took a second look and realized it was a USB keyboard, and it’s quite possible that an all-in-one of this vintage might not have had USB ports yet!
So my head canon is that the guy who normally sits at this station spilled coffee in his keyboard, and put in an order for a new keyboard, and some well-meaning help desk employee dropped off a keyboard that wouldn’t work with this PC… but before the guy who needed a new keyboard could put in a NEW help desk ticket, everyone got turned into zombies and started eating brains.
There’s also a laptop model that shows up occasionally. Not much to say about it.

Now, while the police in RE2 are stuck with eMachines, Umbrella corporation employees, being evil, naturally get Apple computers.

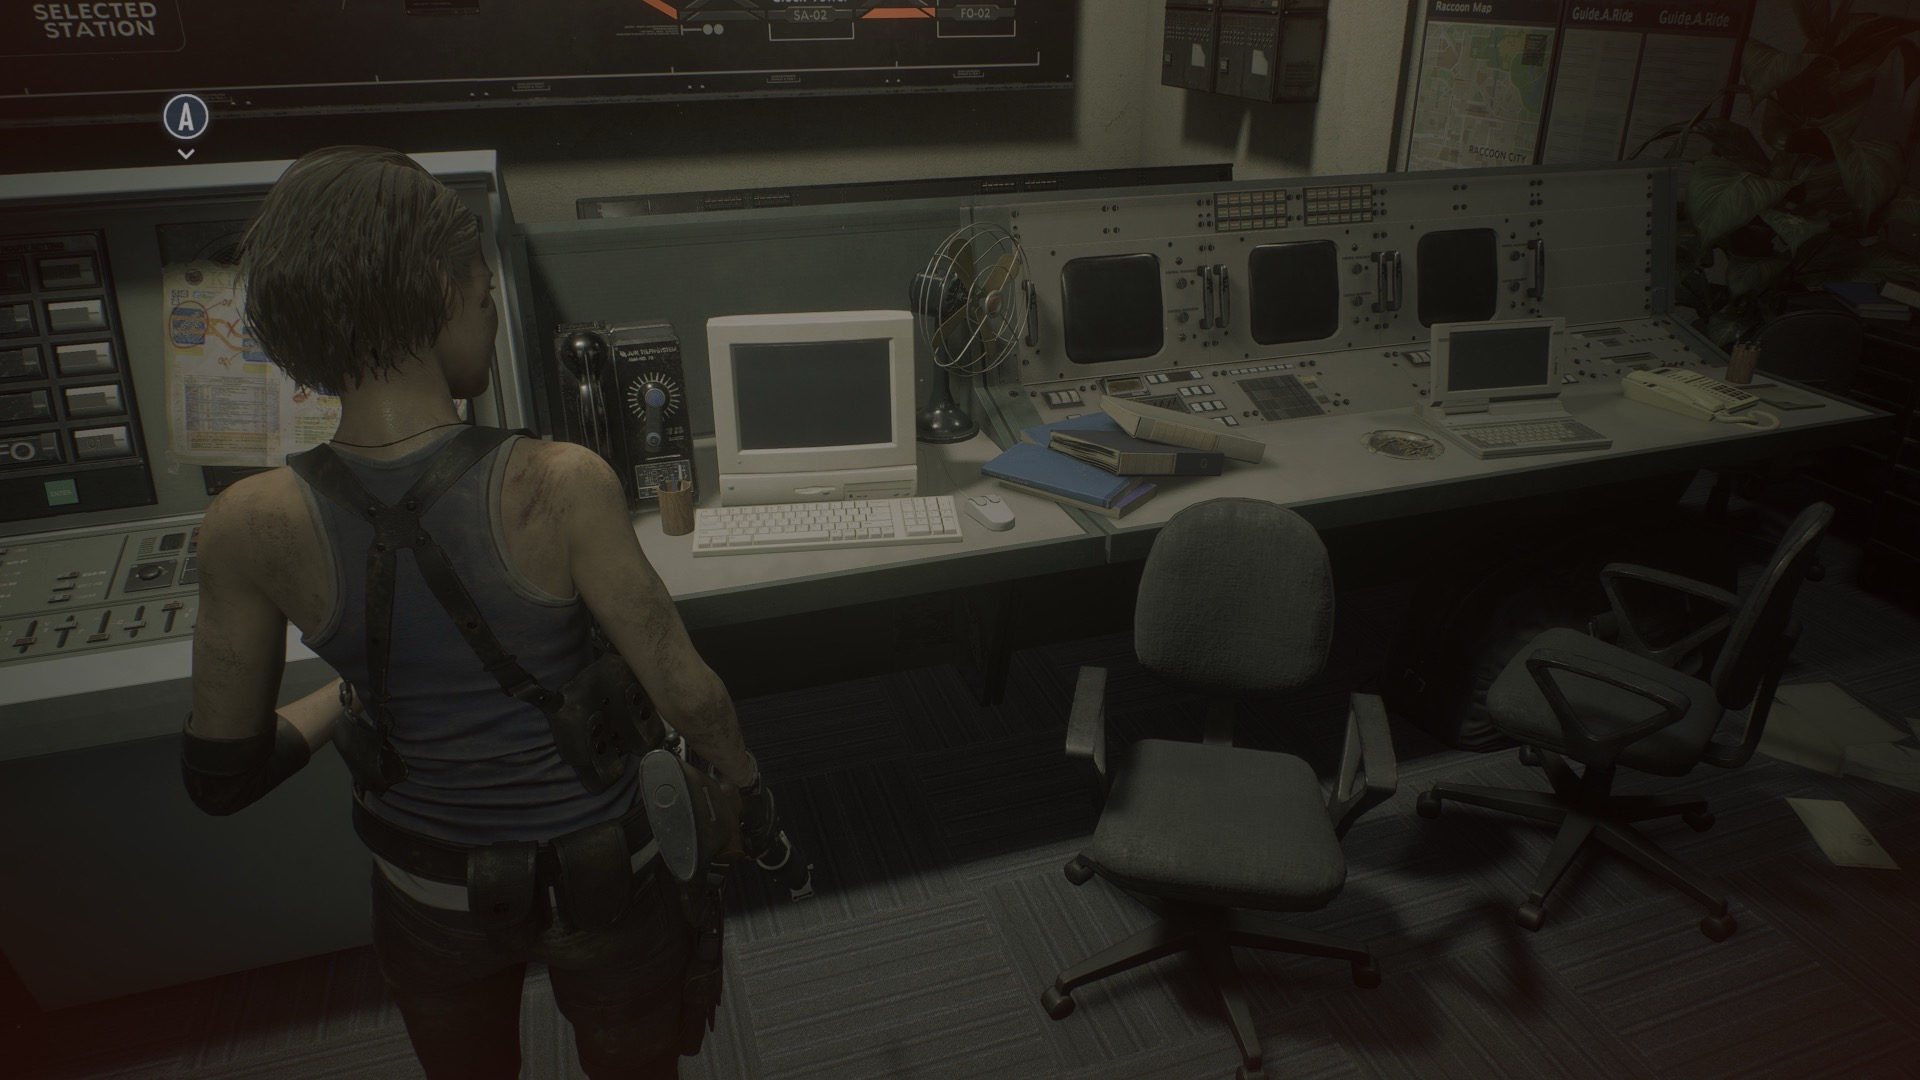
I couldn’t figure out which specific Mac these were supposed to be, so I reached out to a good friend who has something of an encyclopedic knowledge of all things Apple. His conclusion was that they are Quadra 610s, just with the floppy and optical drives swapped for legal reasons.
In Resident Evil 3, Umbrella does have this thing that MIGHT be a tower PC? If so it’s really out-of-place for the time period because it doesn’t have any sort of removable media.

Also in Resident Evil 3, municipal workers got Quadra 610s. I’m going to be real here, this is an obvious continuity glitch. Someone’s head probably rolled after this shipped.
Or maybe someone at the train line was working for Umbrella. Who knows.
Resident Evil 4, unsurprisingly, didn’t have many computers in it at all. Most of the game has you running around, to be delicate, extremely rural areas. They don’t even seem to have electricity in a lot of it.
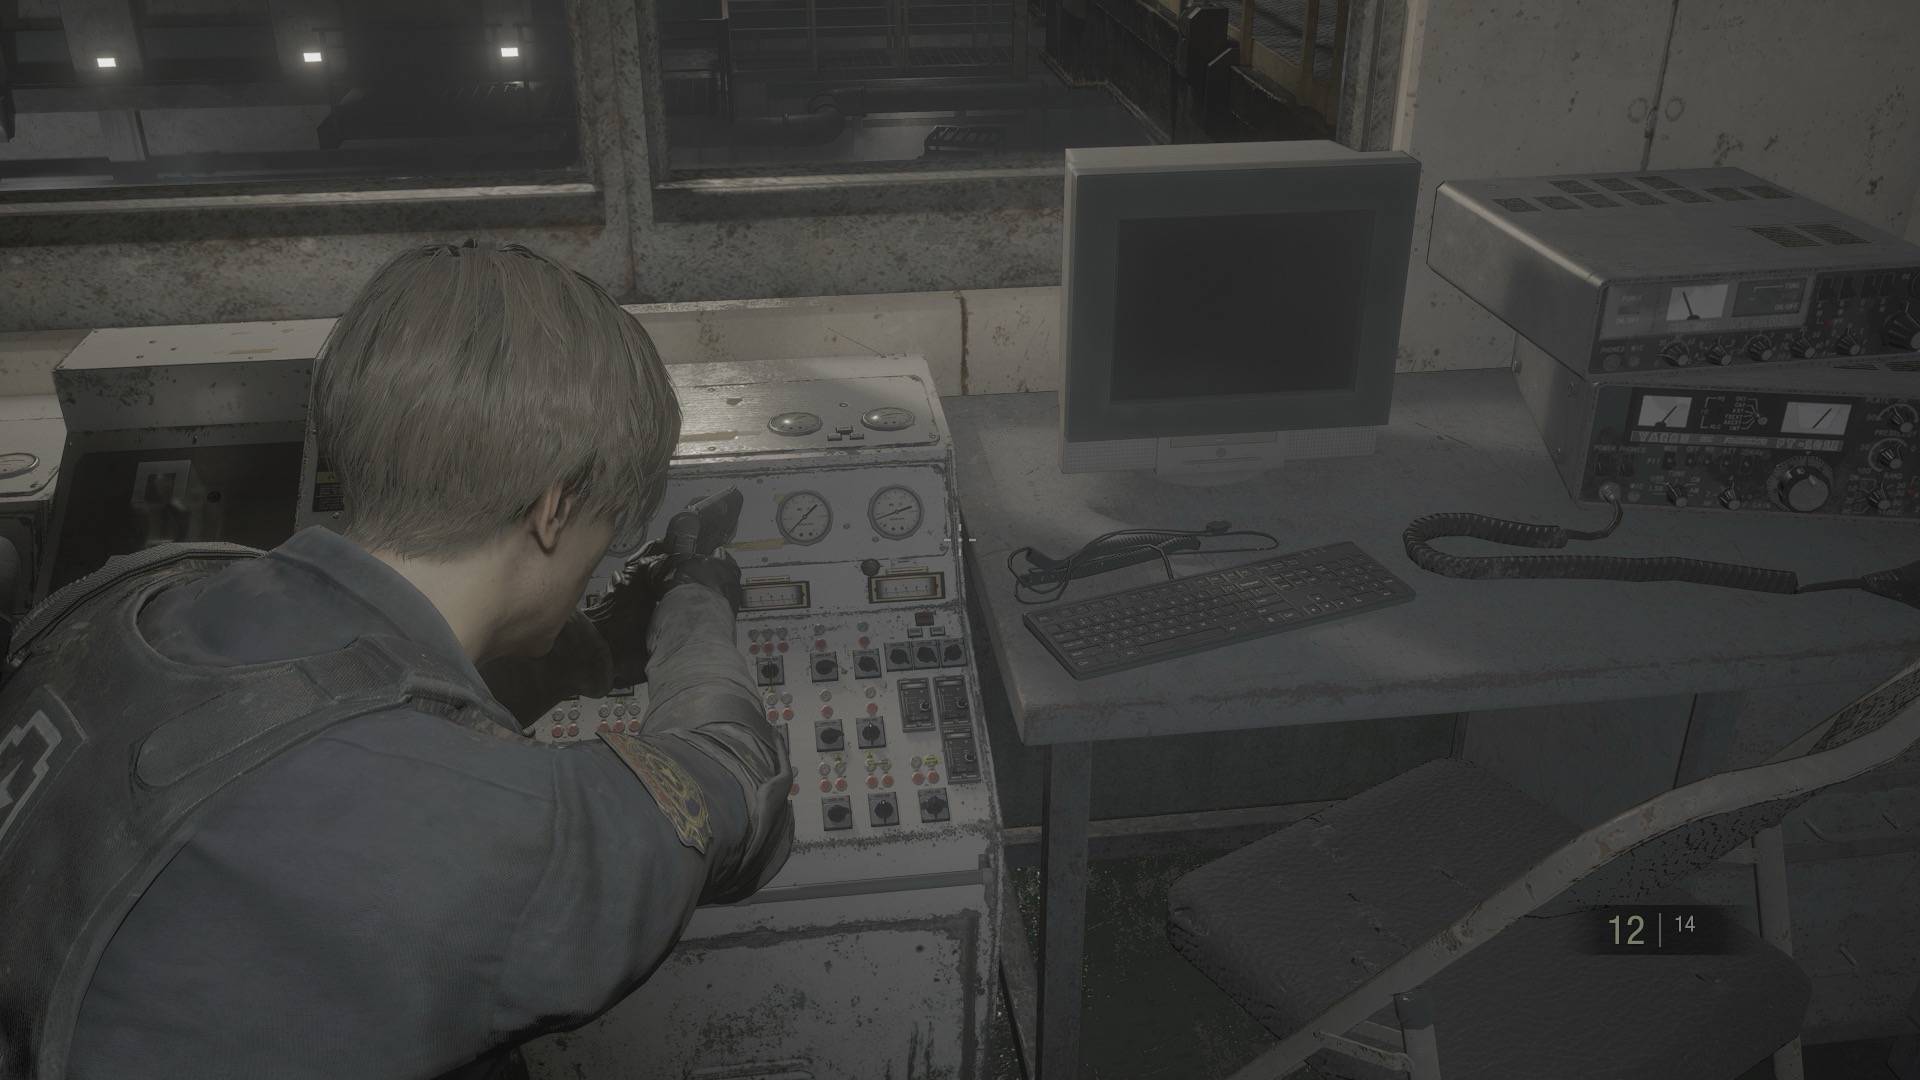
Once you get past that bit, though, there’s a few PC towers. Well, there’s a lot of places in the game where you just see a monitor and a keyboard sitting on a desk with NO PC attached to them, but there are some places you see PC towers next to the monitors and keyboards.

This is the most 2004-looking piece of 2004 hardware ever. The 3.5 inch drive. The mismatched 5.25 inch drive. The weird little baby bump PC case. I think I may have owned this computer at one time. CAPCOM I WOULD LIKE MY COMPUTER BACK IT HAS MY STARCRAFT SAVES.
Boring PC towers aside, you also get a good look at this… thing.
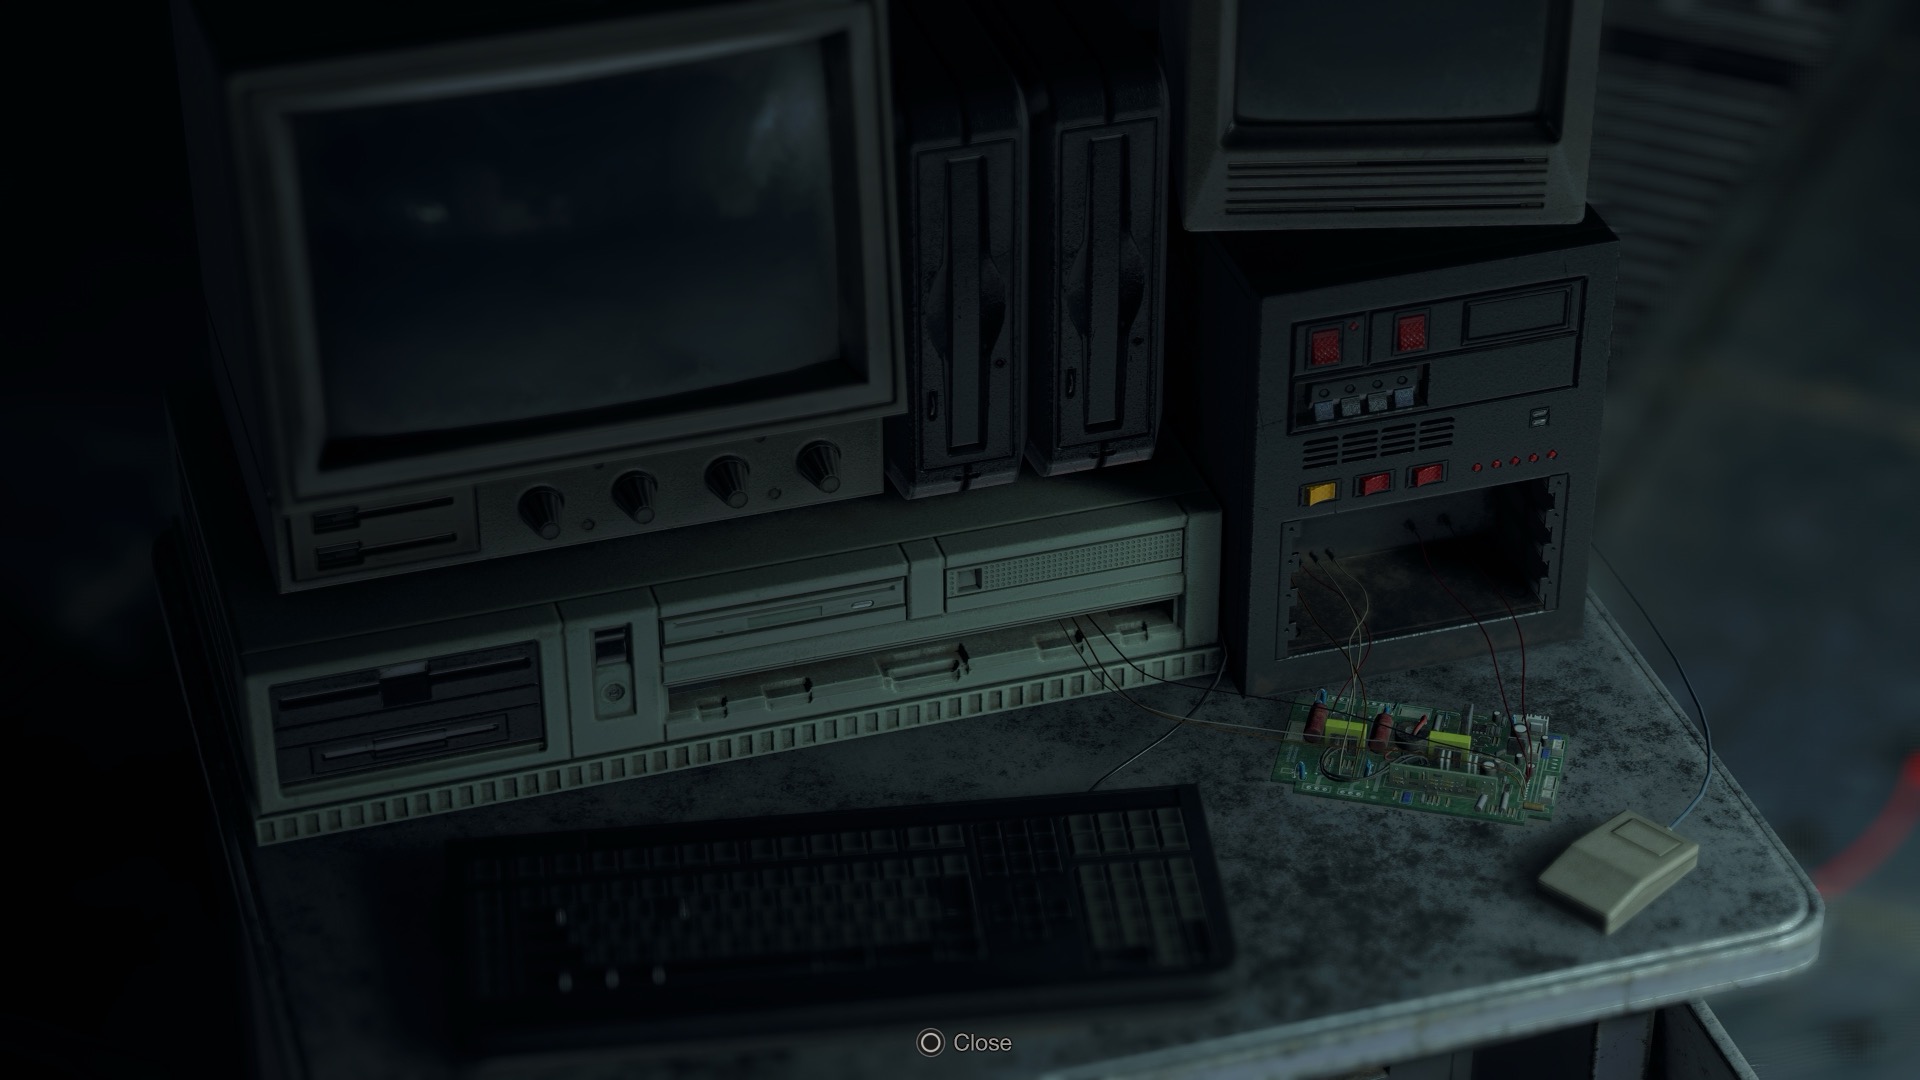
And I don’t know what it is, but I love it. Is that an Apple ADB mouse next to it? Like, from an Apple //gs? I am absolutely in love. No idea what’s going on with the rest of the computer. I’m sure this was based on, like, some weird Japan-only PC brand that someone lovingly 3D modeled and stuck into RE4 as a bit of nostalgia.
Anyway. Lots of horror games last month. Good times!